我所熟悉的每一个开发者,都急切地盼望着在开发中使用上 LibSass。当 Eric 宣布 Susy 已经可以完美融入 LibSass 的时候,我激动的跳了起来,并开始思考使用 Grunt 来创建一个构建流程。
本文中我将会向你演示,我是如何配置 Grunt 来整合 LibSass 和 Susy 的。
前提
在本文中,我会假设你已经安装了 Node JS,Bower 和 Grunt JS。如果还没有安装,请遵循官方说明安装下列工具。
- Node JS(http://nodejs.org)
- Bower(http://bower.io)
- Grunt JS( http://gruntjs.com)
安装完成后,就新建一个文件夹,让我们开始这个项目吧。
配置项目
因为我们在项目中使用了 grunt 和 bower,所以可以轻松管理项目中 node 和 bower 的相关依赖。
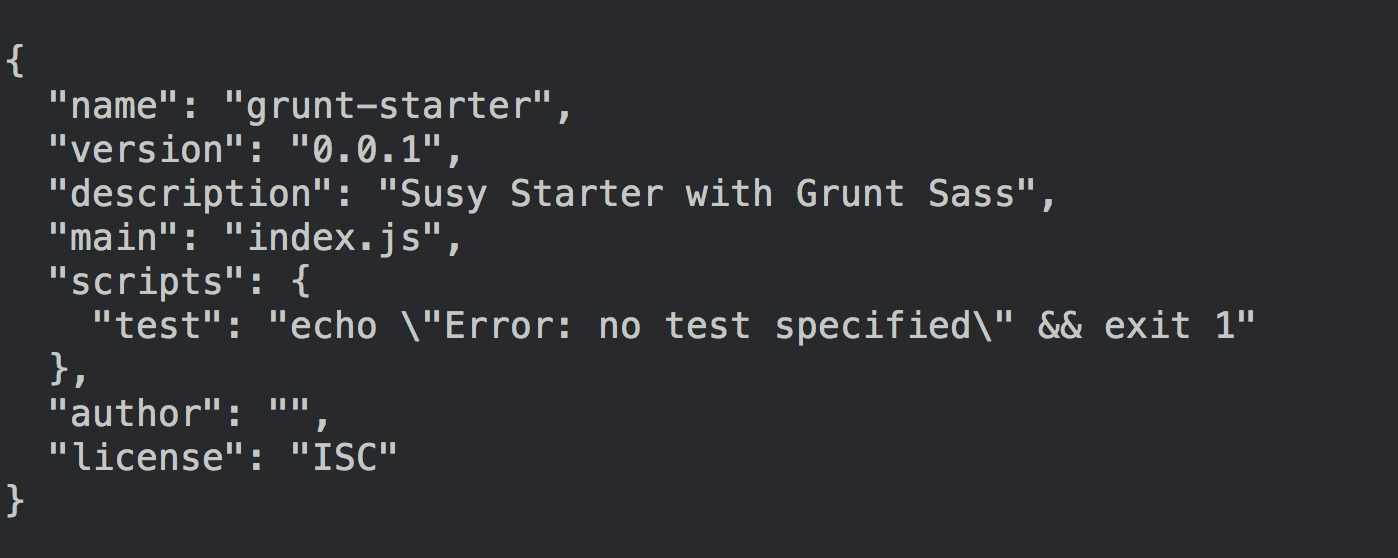
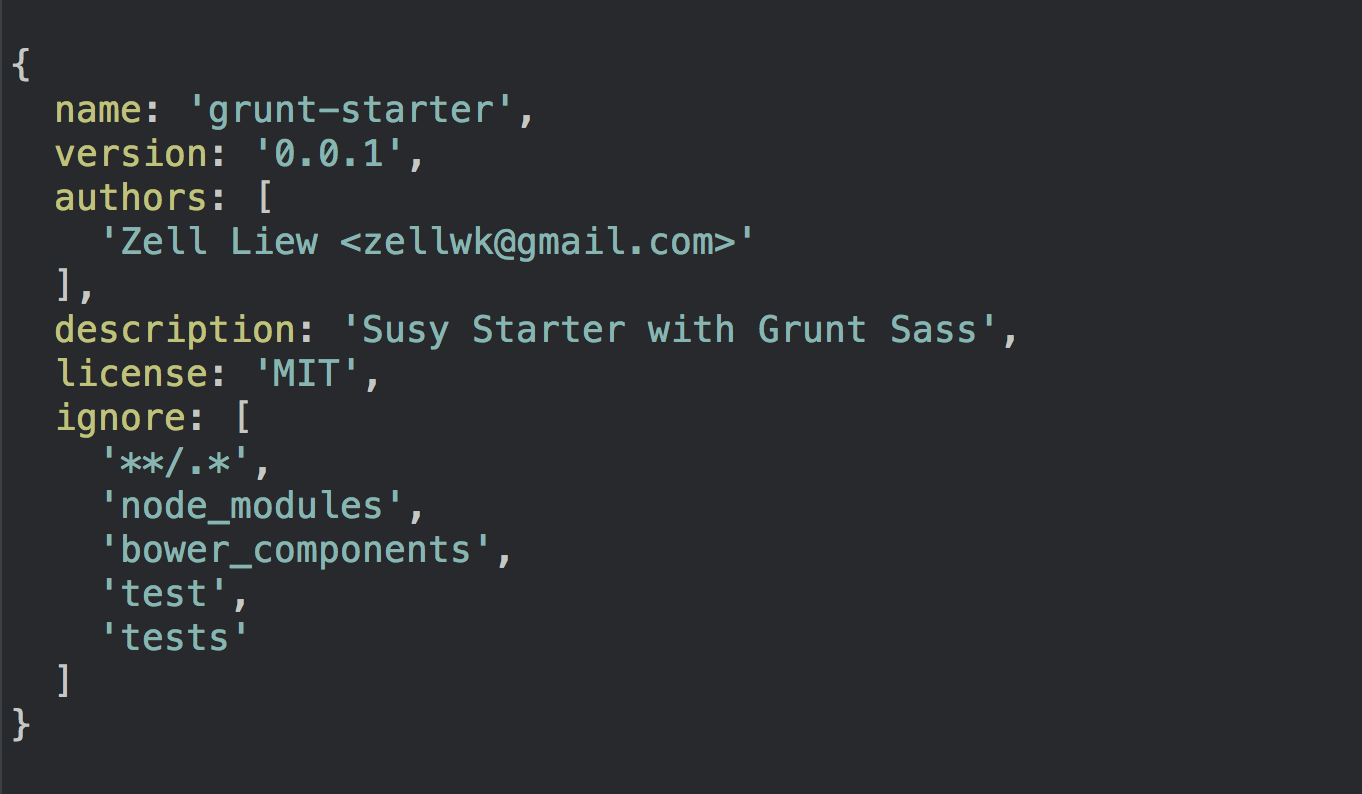
首先,我们需要建立 package.json 和 bower.json 文件夹。可以使用 npm init 命令创建 package.json 文件,使用 bower init 命令创建 bower.json 文件。
$ npm init

$ bower init

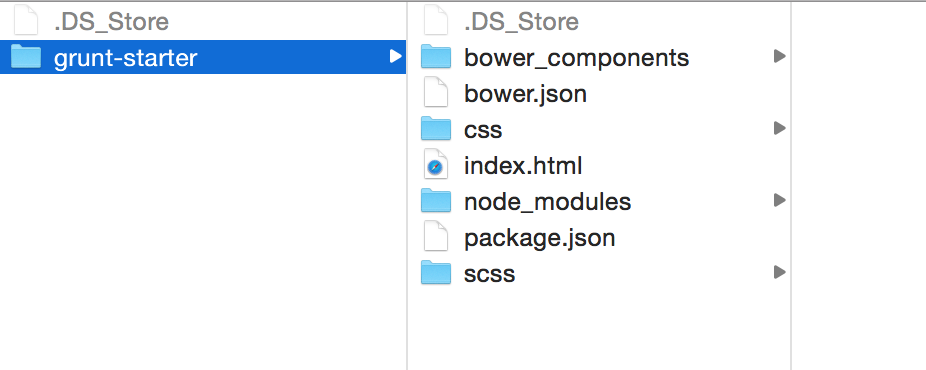
现在,文件夹的结构如下:

接下来,我们需要安装 grunt 软件包,用来自动化处理 LibSass 和 Susy。
安装 Grunt 软件包
我们需要名为 grunt-sass 的 node 软件包来运行 LibSass 和 Susy。来安装吧:
$ npm install grunt-sass --save-dev
你可能会希望实时监视和自动编译 Sass 文件到 CSS 文件,那么就需要安装 grunt-contrib-watch 软件包:
$ npm install grunt-contrib-watch --save-dev
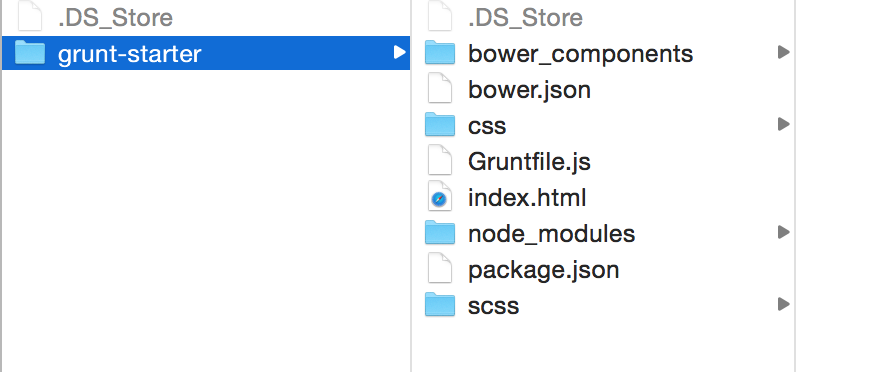
现在,你的项目目录结构就像下图一样了:

我们已经安装了所有必须的 node 软件包,可以使用 LibSass 将 Sass 转换为 CSS 了。那么,继续使用 Bower 安装相关的前端依赖吧。
安装 Bower 软件包
本文中,唯一需要安装的 Bower 软件包就是 Susy:
bower install susy --save
现在的目录结构就像这样了:

还要记得将你的 HTML、SCSS 和 CSS 文件夹导入项目来:

我们需要将 Susy 导入到样式表中,才能够使用它。如果你的项目结构和上图相同,那么下面就是导入 Susy 的命令:
@import "../bower_components/susy/sass/susy";
提醒:如果你想使用 breakpoint 混合宏,那么可以安装 breakpoint-sass。这一步并不是必须的,因为从 Susy 2.2.2 版本开始,就不再依赖 breakpoint-sass,完全可以忽略这个软件包。不过,我还是很喜欢在工作流中使用 breakpoint 混合宏,所以还会安装它:
# Note! This is optional!
bower install breakpoint-sass --save
安装完成后,也需要导入到样式表中:
@import "../bower_components/breakpoint-sass/stylesheets/breakpoint";
好了,我们已经安装了所有必须的库。让我们继续编写 Gruntfile 吧——这可是所有工作的核心!
编写 Gruntfile
编写 Gruntfile 最简单的方式,就是创建一个 Grunt.js,然后放进项目根目录中。

然后再将下述内容编写到 Gruntfile.js 中:
module.exports = function(grunt) {

  // Project configuration.
  grunt.initConfig({

  });

  // Loads Grunt Tasks

  // Default task(s).
};
编写 Gruntfile 的第一步,就是要把需要运行的任务添加到文件中。在我们的这个项目中,需要添加 grunt-sass 和 grunt-contrib-watch 软件包,所以,内容如下:
module.exports = function(grunt) {
  // Project configuration.
  // ...

  // Loads Grunt Tasks
  grunt.loadNpmTasks('grunt-sass');
  grunt.loadNpmTasks('grunt-contrib-watch');

  // Default task(s).
  // ...
};
然后,需要根据项目的目录结构编写 Grunt:
module.exports = function(grunt) {
  // Project configuration.
  grunt.initConfig({

    // Grunt-sass
    sass: {
      app: {
        // Takes every file that ends with .scss from the scss
        // directory and compile them into the css directory.
        // Also changes the extension from .scss into .css.
        // Note: file name that begins with _ are ignored automatically
        files: [{
          expand: true,
          cwd: 'scss',
          src: ['*.scss'],
          dest: 'css',
          ext: '.css'
        }]
      },
      options: {
        sourceMap: true,
        outputStyle: 'nested',
        imagePath: "../",
      }
    },

    // Grunt-contrib-watch
    watch: {
      sass: {
        // Watches all Sass or Scss files within the scss folder and one level down.
        // If you want to watch all scss files instead, use the "**/*" globbing pattern
        files: ['scss/{,*/}*.{scss,sass}'],
        // runs the task `sass` whenever any watched file changes
        tasks: ['sass']
      },
      options: {
        // Sets livereload to true for livereload to work
        // (livereload is not covered in this article)
        livereload: true,
        spawn: false
      }
    },
  });

  // Loads Grunt Tasks
  // ...

  // Default task(s).
  // ...
}
最后,需要注册一个任务,方便 Grunt 启动项目。可以使用 registerTask 命令创建此类任务。
module.exports = function(grunt) {
  // ...

  // Default task(s).
  // This registers a task that runs `sass`, followed by `watch`.
  grunt.registerTask('default', ['sass', 'watch']);
}
Gruntfile 就大功告成了。
运行 Grunt
在上面的操作中,我们实际上已经创建了一个默认的任务。可以在终端中,使用 grunt 命令来启动这个默认任务。
$ grunt
一旦执行这个命令,Grunt 就会运行 Sass 并监视文件变动。

在这个过程中,SCSS 文件夹中的 Sass 或 SCSS 文件只要有改动,Grunt 就会执行编译工作,生成新的 CSS 文件,并持续监视文件动态。

享受这个愉悦的过程吧!
这里有我放在 GitHub 上的一个库,内容就是刚刚建立的环境,试试看吧:https://github.com/zellwk/grunt-susy-starter。
总结
在这篇短文中,我们建立一个基础的 Grunt 项目,有助于使用 LibSass 和 Susy。如果你也成功建立了这样的一个项目,完全可以继续添加软件包,让这个工具更加健壮。目前可以直接想到的扩展目标就是 liveload、autoprefixer,甚至是 CSS 和 JS 压缩工具。
本文根据@Zell的《Configuring Grunt To Use LibSass With Susy》所译,整个译文带有我们自己的理解与思想,如果译得不好或有不对之处还请同行朋友指点。如需转载此译文,需注明英文出处:http://www.zell-weekeat.com/grunt-sass-with-susy/。
出处:http://www.w3cplus.com/preprocessor/grunt-sass-with-susy.html